Pytorch torchtune ↗
noOriginal Documentation
Documentation Index#
Fetch the complete documentation index at: https://docs.wandb.ai/llms.txt Use this file to discover all available pages before exploring further.
export const ColabLink = ({url}) => Try in Colab ;
torchtune is a PyTorch-based library designed to streamline the authoring, fine-tuning, and experimentation processes for large language models (LLMs). Additionally, torchtune has built-in support for logging with W&B, enhancing tracking and visualization of training processes.
Check the W&B blog post on Fine-tuning Mistral 7B using torchtune.
W&B logging at your fingertips#
Override command line arguments at launch:
tune run lora_finetune_single_device --config llama3/8B_lora_single_device \
metric_logger._component_=torchtune.utils.metric_logging.WandBLogger \
metric_logger.project="llama3_lora" \
log_every_n_steps=5
```
<span class="tab-end"></span>
<span class="tab-start" data-tab-title="Recipe"></span>
Enable W\&B logging on the recipe's config:
```yaml
# inside llama3/8B_lora_single_device.yaml
metric_logger:
_component_: torchtune.utils.metric_logging.WandBLogger
project: llama3_lora
log_every_n_steps: 5
```
<span class="tab-end"></span>
<span class="tab-group-end"></span>
## Use the W\&B metric logger
Enable W\&B logging on the recipe's config file by modifying the `metric_logger` section. Change the `_component_` to `torchtune.utils.metric_logging.WandBLogger` class. You can also pass a `project` name and `log_every_n_steps` to customize the logging behavior.
You can also pass any other `kwargs` as you would to the [wandb.init()](/models/ref/python/functions/init) method. For example, if you are working on a team, you can pass the `entity` argument to the `WandBLogger` class to specify the team name.
<span class="tab-group-start"></span>
<span class="tab-start" data-tab-title="Recipe"></span>
```yaml
# inside llama3/8B_lora_single_device.yaml
metric_logger:
_component_: torchtune.utils.metric_logging.WandBLogger
project: llama3_lora
entity: my_project
job_type: lora_finetune_single_device
group: my_awesome_experiments
log_every_n_steps: 5
```
<span class="tab-end"></span>
<span class="tab-start" data-tab-title="Command Line"></span>
```shell
tune run lora_finetune_single_device --config llama3/8B_lora_single_device \
metric_logger._component_=torchtune.utils.metric_logging.WandBLogger \
metric_logger.project="llama3_lora" \
metric_logger.entity="my_project" \
metric_logger.job_type="lora_finetune_single_device" \
metric_logger.group="my_awesome_experiments" \
log_every_n_steps=5
```
<span class="tab-end"></span>
<span class="tab-group-end"></span>
## What is logged?
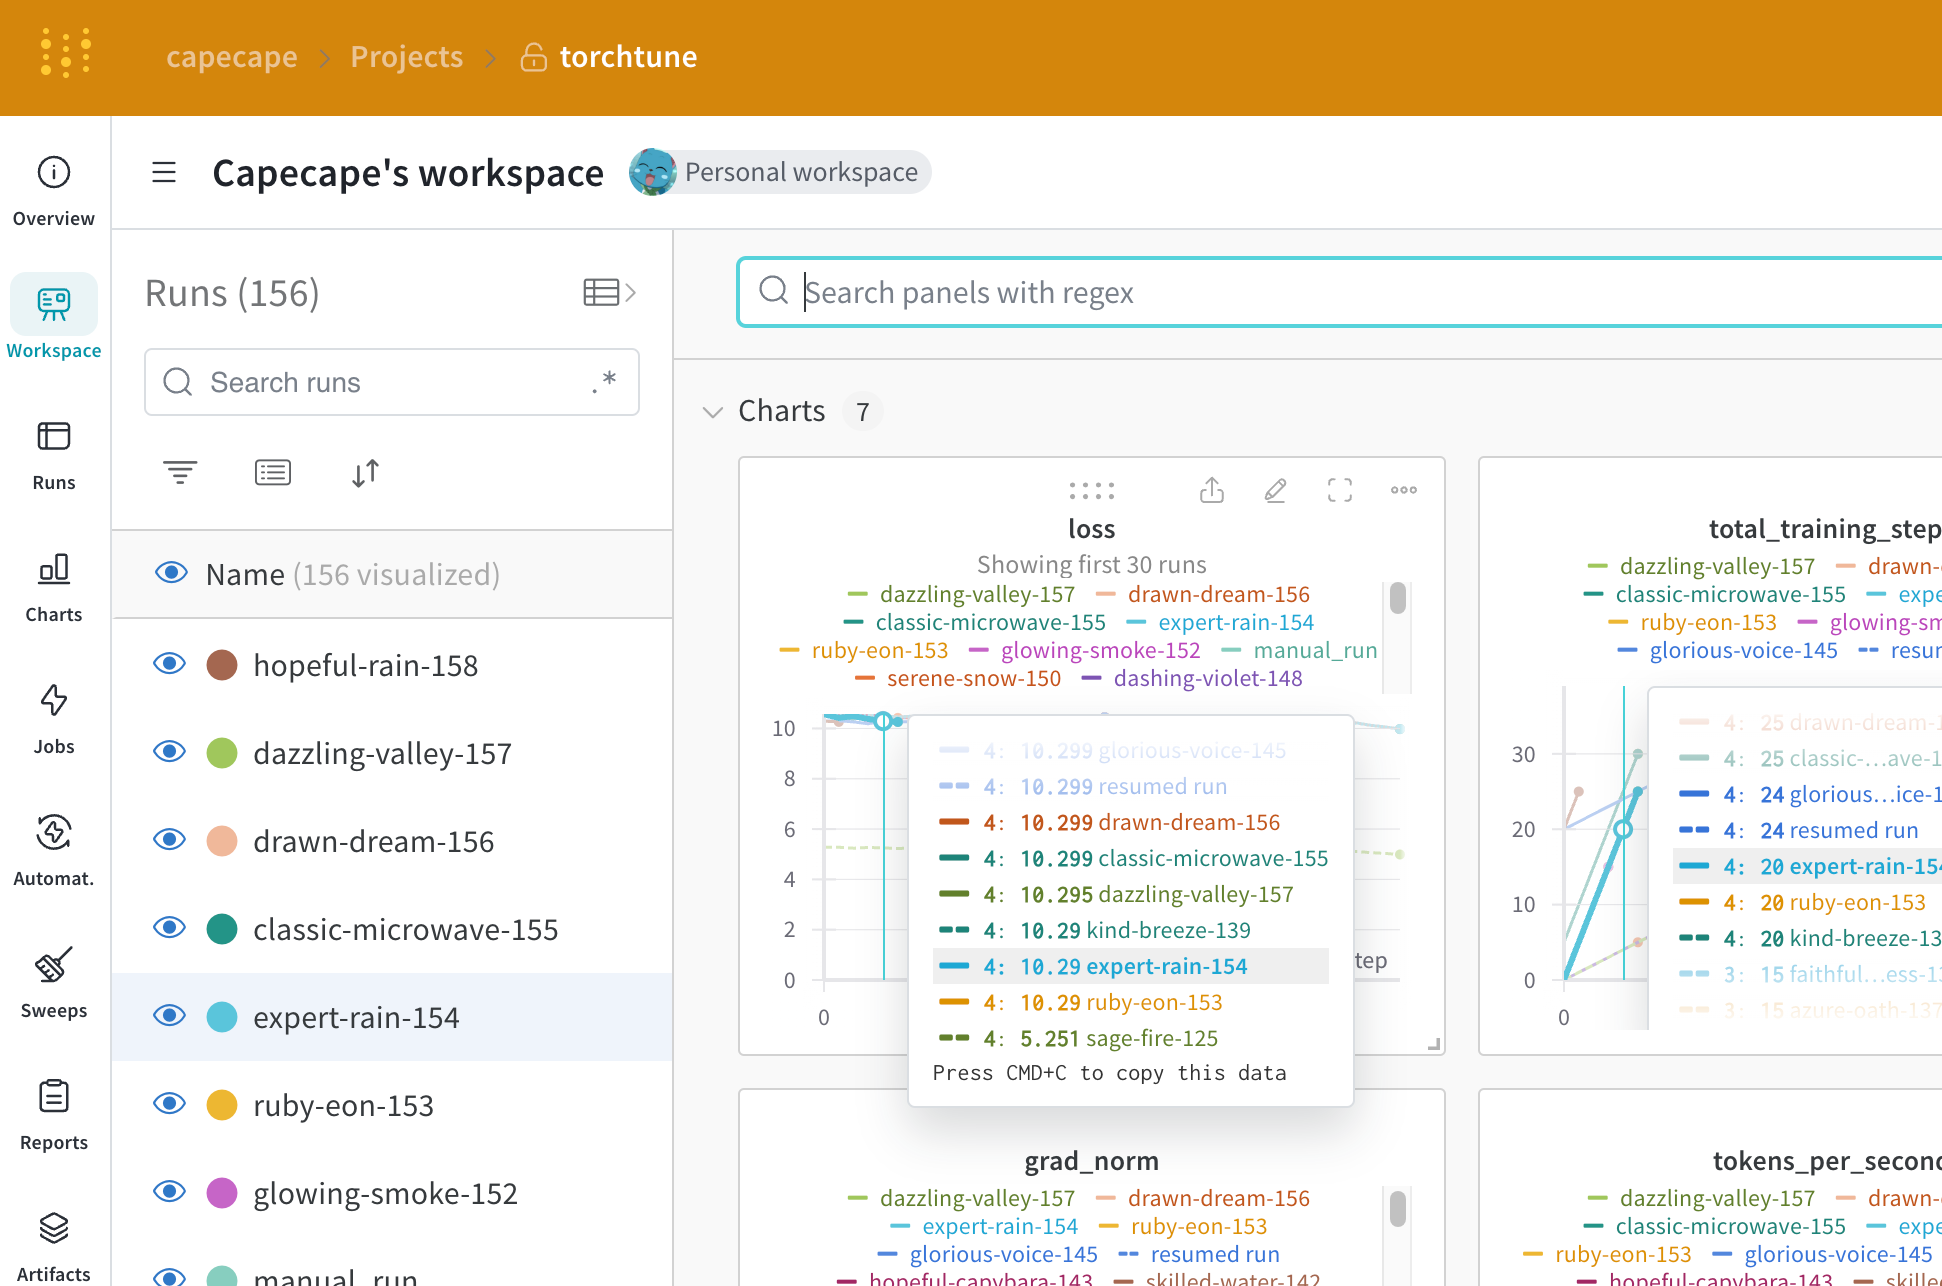
You can explore the W\&B dashboard to see the logged metrics. By default W\&B logs all of the hyperparameters from the config file and the launch overrides.
W\&B captures the resolved config on the **Overview** tab. W\&B also stores the config in YAML format on the [Files tab](https://wandb.ai/capecape/torchtune/runs/joyknwwa/files).
<img src="https://mintcdn.com/wb-21fd5541/w-lBKSCruauC3-2f/images/integrations/torchtune_config.png?fit=max&auto=format&n=w-lBKSCruauC3-2f&q=85&s=80ee1d6653d94ebea2cef75ced3bcd41" alt="TorchTune configuration" data-og-width="1806" width="1806" data-og-height="1362" height="1362" data-path="images/integrations/torchtune_config.png" data-optimize="true" data-opv="3" srcset="https://mintcdn.com/wb-21fd5541/w-lBKSCruauC3-2f/images/integrations/torchtune_config.png?w=280&fit=max&auto=format&n=w-lBKSCruauC3-2f&q=85&s=51c78568cce003f7db11b29ad4e8ce80 280w, https://mintcdn.com/wb-21fd5541/w-lBKSCruauC3-2f/images/integrations/torchtune_config.png?w=560&fit=max&auto=format&n=w-lBKSCruauC3-2f&q=85&s=c480ec6ad53b9d0f4c79a542029ca48a 560w, https://mintcdn.com/wb-21fd5541/w-lBKSCruauC3-2f/images/integrations/torchtune_config.png?w=840&fit=max&auto=format&n=w-lBKSCruauC3-2f&q=85&s=8bf7dd15266b9fabf59edbefd8389de1 840w, https://mintcdn.com/wb-21fd5541/w-lBKSCruauC3-2f/images/integrations/torchtune_config.png?w=1100&fit=max&auto=format&n=w-lBKSCruauC3-2f&q=85&s=b9e6df7d1ba3dc038bc86875e80a90fb 1100w, https://mintcdn.com/wb-21fd5541/w-lBKSCruauC3-2f/images/integrations/torchtune_config.png?w=1650&fit=max&auto=format&n=w-lBKSCruauC3-2f&q=85&s=4d43a878137888a8af9eba6ce63702a4 1650w, https://mintcdn.com/wb-21fd5541/w-lBKSCruauC3-2f/images/integrations/torchtune_config.png?w=2500&fit=max&auto=format&n=w-lBKSCruauC3-2f&q=85&s=52d53cbe1cd26c6195fcddae96eb77b6 2500w" />
### Logged Metrics
Each recipe has its own training loop. Check each individual recipe to see its logged metrics, which include these by default:
| Metric | Description |
| ------------------- | ---------------------------------------------------------------------------------------------------------------------------------------------------------------------------------------------------------------------------------------------------------------------- |
| `loss` | The loss of the model |
| `lr` | The learning rate |
| `tokens_per_second` | The tokens per second of the model |
| `grad_norm` | The gradient norm of the model |
| `global_step` | Corresponds to the current step in the training loop. Takes into account gradient accumulation, basically every time an optimizer step is taken, the model is updated, the gradients are accumulated and the model is updated once every `gradient_accumulation_steps` |
<span class="callout-start" data-callout-type="note"></span>
`global_step` is not the same as the number of training steps. It corresponds to the current step in the training loop. Takes into account gradient accumulation, basically every time an optimizer step is taken the `global_step` is incremented by 1. For example, if the dataloader has 10 batches, gradient accumulation steps is 2 and run for 3 epochs, the optimizer will step 15 times, in this case `global_step` will range from 1 to 15.
<span class="callout-end"></span>
The streamlined design of torchtune allows to easily add custom metrics or modify the existing ones. It suffices to modify the corresponding [recipe file](https://github.com/meta-pytorch/torchtune/tree/main/recipes), for example, computing one could log `current_epoch` as a percentage of the total number of epochs as following:
```python
# inside `train.py` function in the recipe file
self._metric_logger.log_dict(
{"current_epoch": self.epochs * self.global_step / self._steps_per_epoch},
step=self.global_step,
)
This is a fast evolving library, the current metrics are subject to change. If you want to add a custom metric, you should modify the recipe and call the corresponding self._metric_logger.* function.
Save and load checkpoints#
The torchtune library supports various checkpoint formats. Depending on the origin of the model you are using, you should switch to the appropriate checkpointer class.
If you want to save the model checkpoints to W&B Artifacts, the simplest solution is to override the save_checkpoint functions inside the corresponding recipe.
Here is an example of how you can override the save_checkpoint function to save the model checkpoints to W&B Artifacts.
def save_checkpoint(self, epoch: int) -> None:
    ...
    ## Let's save the checkpoint to W&B
    ## depending on the Checkpointer Class the file will be named differently
    ## Here is an example for the full_finetune case
    checkpoint_file = Path.joinpath(
        self._checkpointer._output_dir, f"torchtune_model_{epoch}"
    ).with_suffix(".pt")
    wandb_artifact = wandb.Artifact(
        name=f"torchtune_model_{epoch}",
        type="model",
        # description of the model checkpoint
        description="Model checkpoint",
        # you can add whatever metadata you want as a dict
        metadata={
            utils.SEED_KEY: self.seed,
            utils.EPOCHS_KEY: self.epochs_run,
            utils.TOTAL_EPOCHS_KEY: self.total_epochs,
            utils.MAX_STEPS_KEY: self.max_steps_per_epoch,
        },
    )
    wandb_artifact.add_file(checkpoint_file)
    wandb.log_artifact(wandb_artifact)